


Ever wondered how you could protect your home without running cables through your walls or worrying about power outages knocking out your security? Perhaps you’re curious about whether solar security cameras actually work in Australian conditions, or you’re simply looking for a straightforward way to boost your home’s safety without calling in the professionals?
You’re not alone. More Aussie homeowners are turning to solar powered security cameras as a reliable, eco-friendly way to keep an eye on their property. These clever devices combine the convenience of wireless technology with the sustainability of solar power, making them perfect for our sun-drenched climate. Plus, they’re surprisingly easy to install yourself—no electrician required.
In this guide, we’ll walk you through everything you need to know about setting up your wireless solar security cameras system. From choosing the right location to troubleshooting common issues, we’ve got you covered. You’ll learn how to setup wireless camera systems like a pro, compare options from popular retailers like Bunnings and Jaycar, and discover tips for keeping your cameras running smoothly for years to come. Let’s get into it.
How to Setup Wireless Camera Systems: A Complete Beginner’s Guide
What You’ll Need Before You Start
Before you crack open that box, let’s make sure you’ve got everything sorted. Most solar wireless outdoor security camera kits come with the camera unit, solar panel, mounting brackets, and screws. However, you’ll also need a few extras: a drill with appropriate bits, a ladder for reaching higher spots, and a smartphone with the manufacturer’s app downloaded.
Don’t forget to check your Wi-Fi coverage extends to where you plan to mount your camera. A weak signal is one of the most common headaches during wireless camera installation. If your signal’s patchy, consider a Wi-Fi extender before you start.
Understanding Your Solar Powered Security Camera Components
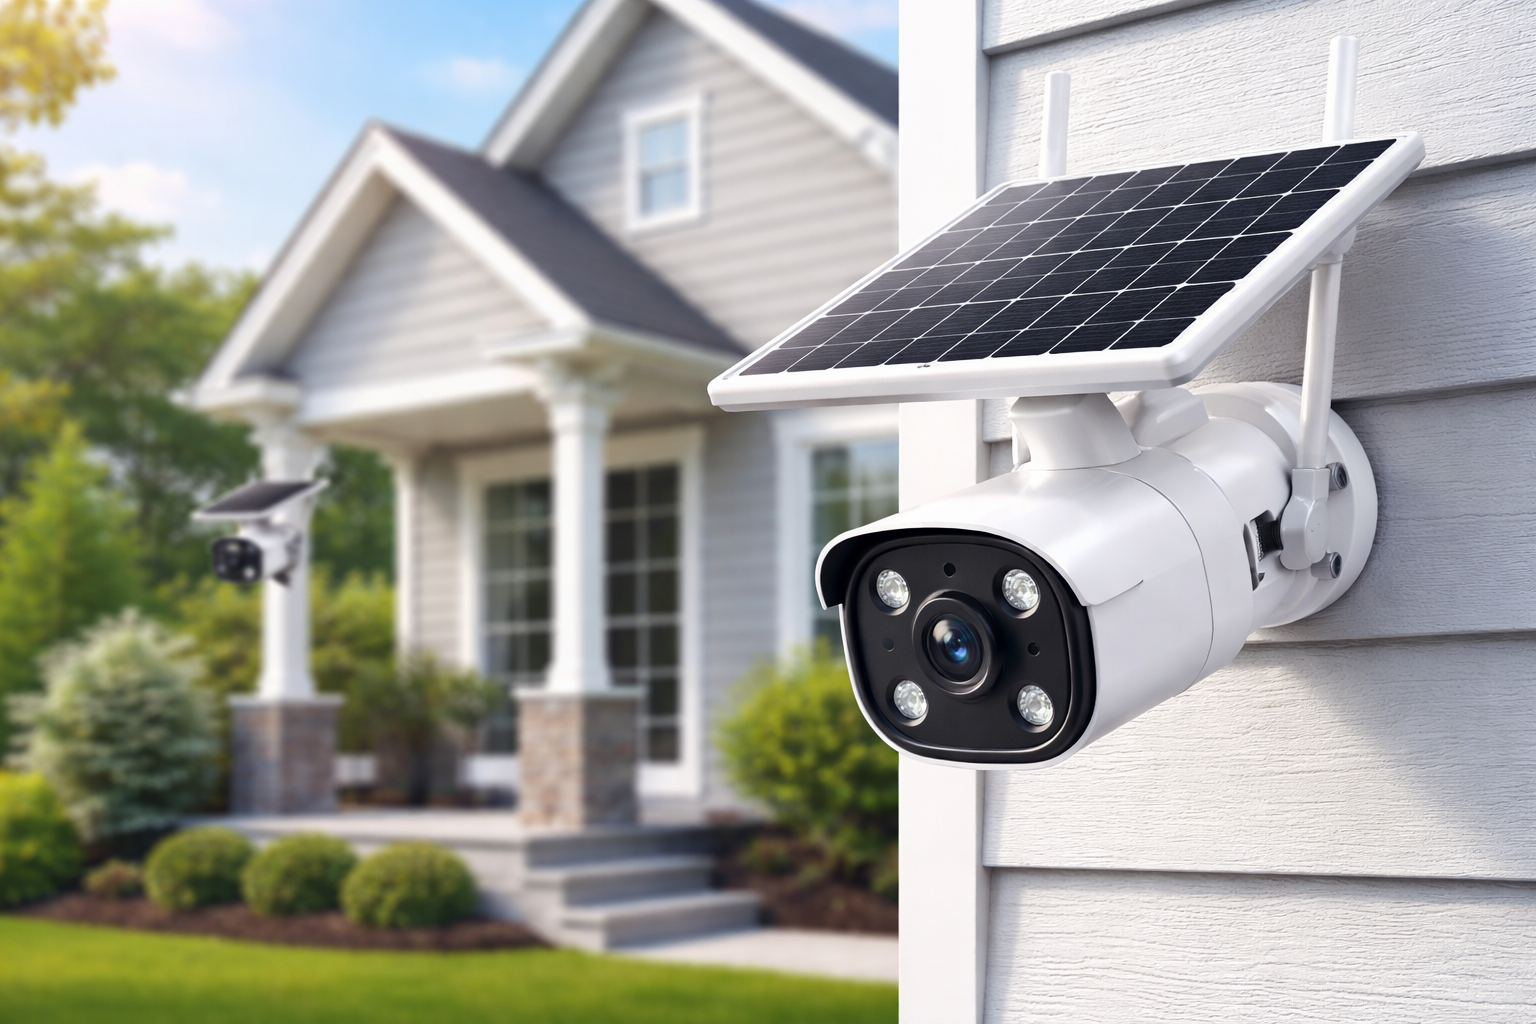
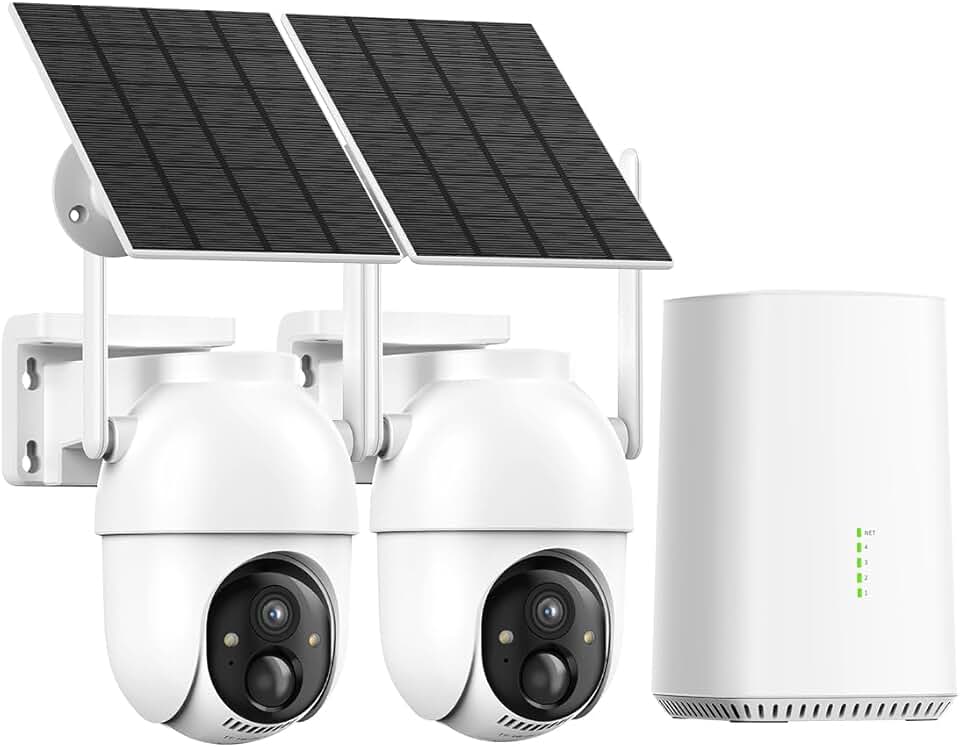
Your solar surveillance camera system typically includes three main parts: the camera itself, the solar panel, and an internal rechargeable battery. The solar panel captures sunlight and converts it to electricity, which charges the battery. This battery then powers your camera around the clock—even on cloudy days or at night.
Most modern units also feature motion sensors, night vision capabilities, and two-way audio. Understanding how these components work together helps you position everything for maximum performance.
Step-by-Step Wireless Camera Installation Process
Start by deciding on your camera’s location (more on this shortly). Once you’ve picked the spot, mark where you’ll drill holes for the mounting bracket. Secure the bracket firmly—you don’t want your camera wobbling in the wind.
Attach the camera to the bracket and connect the solar panel. Most panels connect via a simple cable that plugs directly into the camera. Finally, power on the device and follow the app instructions to complete your security camera set up.
Choosing the Right Location for Your Solar Surveillance Camera
Maximising Sunlight Exposure for Optimal Performance
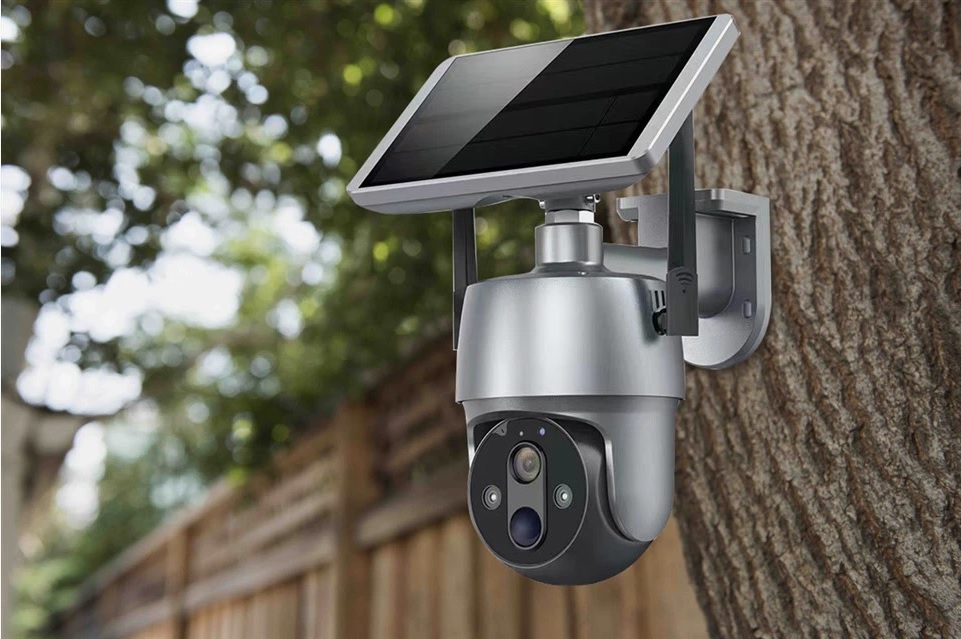
Here’s where many people slip up. Your solar surveillance camera needs direct sunlight to charge effectively. Aim for a spot that receives at least four to six hours of unobstructed sunlight daily. North-facing positions generally work best in Australia, as they capture the most sun throughout the year.
Avoid placing panels under eaves, near trees, or anywhere shadows regularly fall. Even partial shading can significantly reduce charging efficiency.
Best Mounting Heights and Angles
For the best coverage, mount your camera between 2.5 and 3 metres high. This height captures clear facial details while remaining out of easy reach. Angle the camera slightly downward—about 15 to 20 degrees works well for most front doors and driveways.
Your solar panel angle matters too. In most Australian locations, tilting the panel at roughly 30 degrees towards the north optimises sun exposure throughout the seasons.
Common Placement Mistakes to Avoid
Don’t point your camera directly at the sun or towards highly reflective surfaces. This creates glare and washes out footage. Similarly, avoid aiming at busy roads or footpaths beyond your property—constant motion triggers drain battery life and fill storage with useless recordings.
Another common error? Placing cameras behind glass. Most motion sensors won’t work through windows, and glass reflections mess with image quality.
Setting Up Your Solar Wireless Outdoor Security Camera
Connecting to Your Home Wi-Fi Network
Once your camera’s mounted, it’s time to get connected. Open the manufacturer’s app and create an account if you haven’t already. Most apps guide you through adding a new device—you’ll typically scan a QR code on the camera or enter a serial number.
When prompted, enter your Wi-Fi network name and password. Make sure you’re connecting to your 2.4GHz network, as most solar security cameras don’t support 5GHz frequencies.
Configuring the Mobile App
With your camera connected, explore the app settings. Set up motion detection zones to focus on specific areas—like your driveway or front door—rather than the entire field of view. This reduces false alerts and saves battery.
Configure notification preferences so you’re alerted to important events without being bombarded by notifications every time a cat walks past. Most apps also let you schedule recording times and adjust video quality settings.
Testing Your Security Camera Set Up
Before calling it done, run some tests. Walk through the camera’s field of view and check the footage. Is the image clear? Does motion detection trigger appropriately? Can you hear and speak through two-way audio?
Test the app’s live view feature from inside your house and while you’re out and about. Make sure notifications arrive promptly on your phone.
How Long Do Solar Security Cameras Take to Charge?
This question comes up constantly, and the answer varies depending on conditions. From completely flat, most solar powered security cameras need around one to two days of good sunlight to reach full charge. Once charged, the battery typically lasts several days without any sun.
In Australian summer conditions, your camera should stay topped up with minimal effort. Winter months or prolonged cloudy periods might require occasional monitoring to ensure adequate charge levels.
Do Solar Surveillance Cameras Work at Night?
Absolutely. Solar surveillance cameras store energy during the day and use that power to operate overnight. Most modern units include infrared night vision, allowing clear footage in complete darkness.
The IR sensors illuminate the area without visible light, so intruders won’t know they’re being recorded. Range varies between models—some capture clear footage up to 10 metres away, while premium options extend beyond 20 metres.
Can You Install a Solar Surveillance Camera System Yourself?
In most cases, yes. The whole point of wireless camera installation is that it’s accessible to everyday homeowners. You don’t need electrical qualifications since there’s no mains wiring involved. Basic DIY skills and a few common tools are all that’s required.
That said, if you’re uncomfortable working at heights or unsure about drilling into walls, there’s no shame in asking a handy friend or hiring a professional for the physical mounting.
Maintaining Your Solar Security Cameras for Long-Term Performance
Regular maintenance keeps your system running reliably. Clean your solar panel every few months—a soft cloth and water work fine. Check mounting brackets remain secure, especially after storms.
Keep camera lenses clear of cobwebs and debris. Periodically check your app for firmware updates, as manufacturers regularly release improvements and security patches.
Final Thoughts: Getting the Most from Your Wireless Solar Security Setup
Setting up solar security cameras is genuinely straightforward once you understand the basics. From choosing the right location with adequate sunlight to configuring your mobile app for optimal performance, each step builds towards a reliable security system you can count on.
Whether you source your equipment from Bunnings, Jayar, or elsewhere, the fundamental principles remain the same. Position your camera and solar panel thoughtfully, ensure strong Wi-Fi coverage, and take time to fine-tune your settings. These small efforts make a significant difference to performance.
Your wireless solar security cameras setup offers peace of mind without ongoing electricity costs or complex wiring. With proper maintenance and sensible placement, your cameras will serve you well for years to come. So grab that drill, pick your spots, and give yourself the security upgrade your home deserves. You’ve got this.